On the seventh day God rested. Or was it the 6th day? If God obeyed the 40 hour work week then he would have rested on the 6th day...we're heading toward technological unemployment and I wouldn't be surprised if we went to a 4 day work week, but that is another story. Today, I want to share a few links with you about my thought processes.
I am now a pizza-stone convert, but it isn't all perfect. Here's my stone:
http://www.amazon.com/Pizzacraft-Square-Cordierite-Baking-Pizza/dp/B005IF3086/ref=sr_1_1?ie=UTF8&qid=1412903075&sr=8-1&keywords=pizzacraft+pizza+stone
And it's pretty amazing. The idea is that the stone gets hot and serves as a surface to cook the bottom of the raw pizza. However, as hot as it can get (500 deg F), it doesn't have enough thermal mass to deliver enough energy to a raw pizza to really get the bottom of the pizza super crispy. Take a look at this analysis of pizza-stones vs pizza-steel (an advanced topic):
http://slice.seriouseats.com/archives/2012/09/the-pizza-lab-the-baking-steel-delivers.html
And this is why I am going to pre-bake my crust for a few minutes before I put the sauce on toppings on. This will be my 4th attempt at homemade pizza (and first time officially for the Fur) and I have never gotten the super crispy crust I want. More thoughts on pre-baking:
http://www.joy-of-pizza.com/pizza-dough/pizza-dough-should-i-prebake.htm
People also recommend dough docking, but what is that?
Dough docking is helpful when making thin crust 'za. I will dough dock using a pasta ladle...something like this
What about you greater Fur community? Do you have any questions for this ninja? Do you think I can pull off a decent pizza? Are my herb ratios too unstable? Perhaps you are just waiting to see the final product? If so, stay tuned!
Thursday, October 9, 2014
Wednesday, October 8, 2014
Sawsheezle does pizza: Part 2 - Sauce
You've got to have sauce right? There are many ways to acquire pizza sauce, but Sawsheezle is trying to be as frugal as possible so here is his attempt at making his own. Ingredients roundup:
1 big can of peeled tomatoes
1 Tbsp of crushed garlic
1 Tbsp oregano
1 Tbsp basil
1 Tbsp thyme
0.5 Tbsp red pepper flakes
1 Tbsp sugar
salt, pepper to taste
1 onion halved
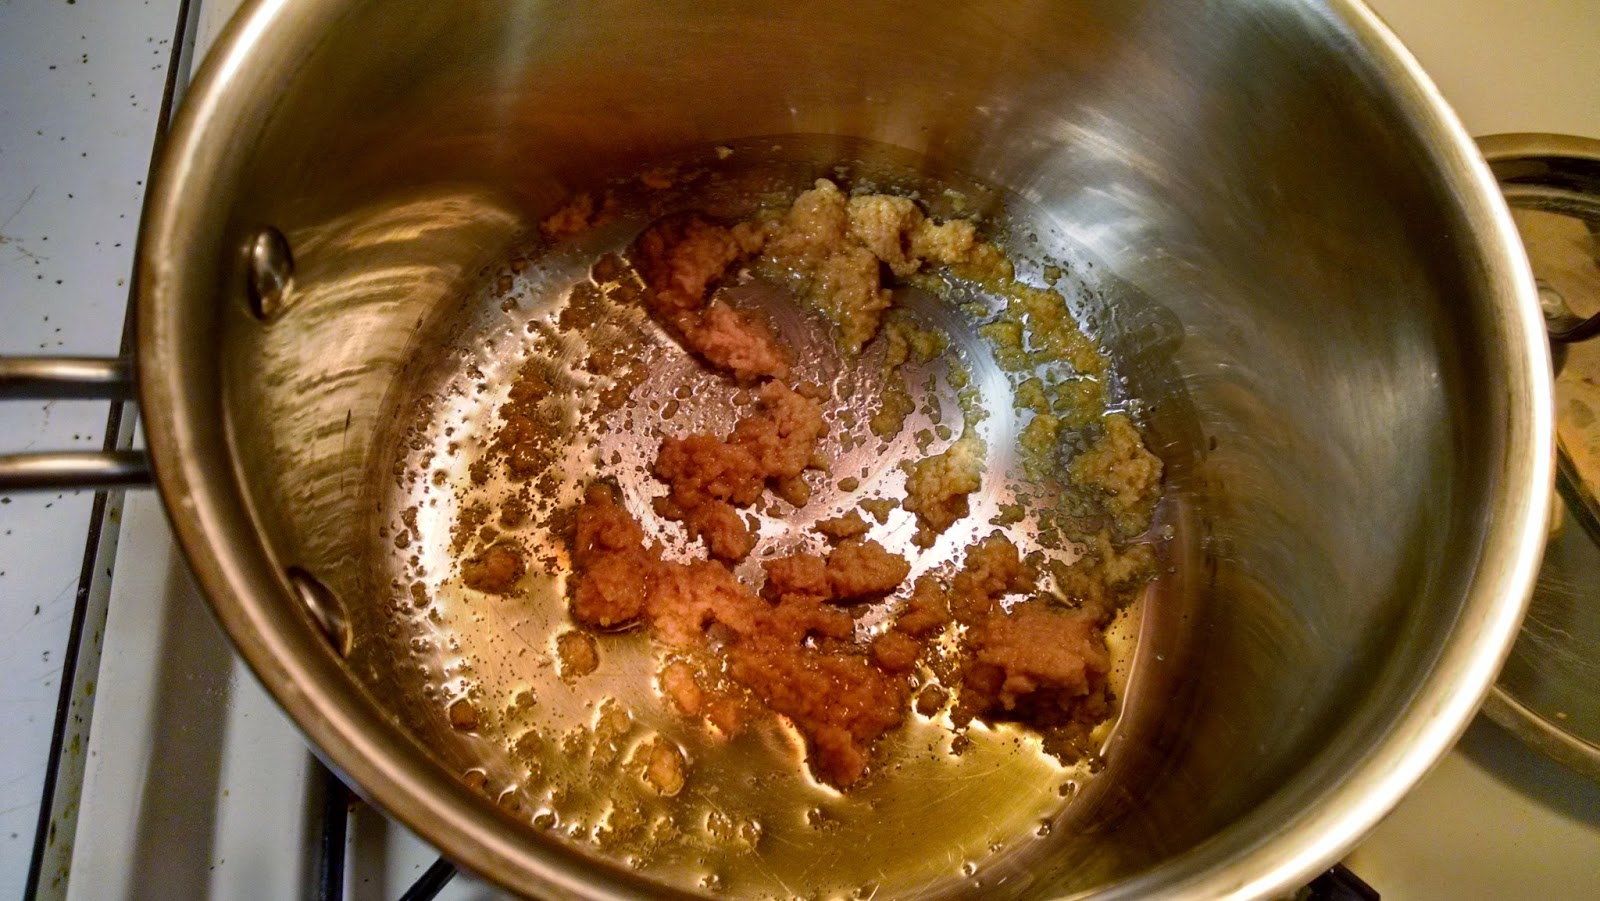
Get the garlic going in the bottom of a sauce pan with some olive oil. Preheat the oven to 325 deg F.
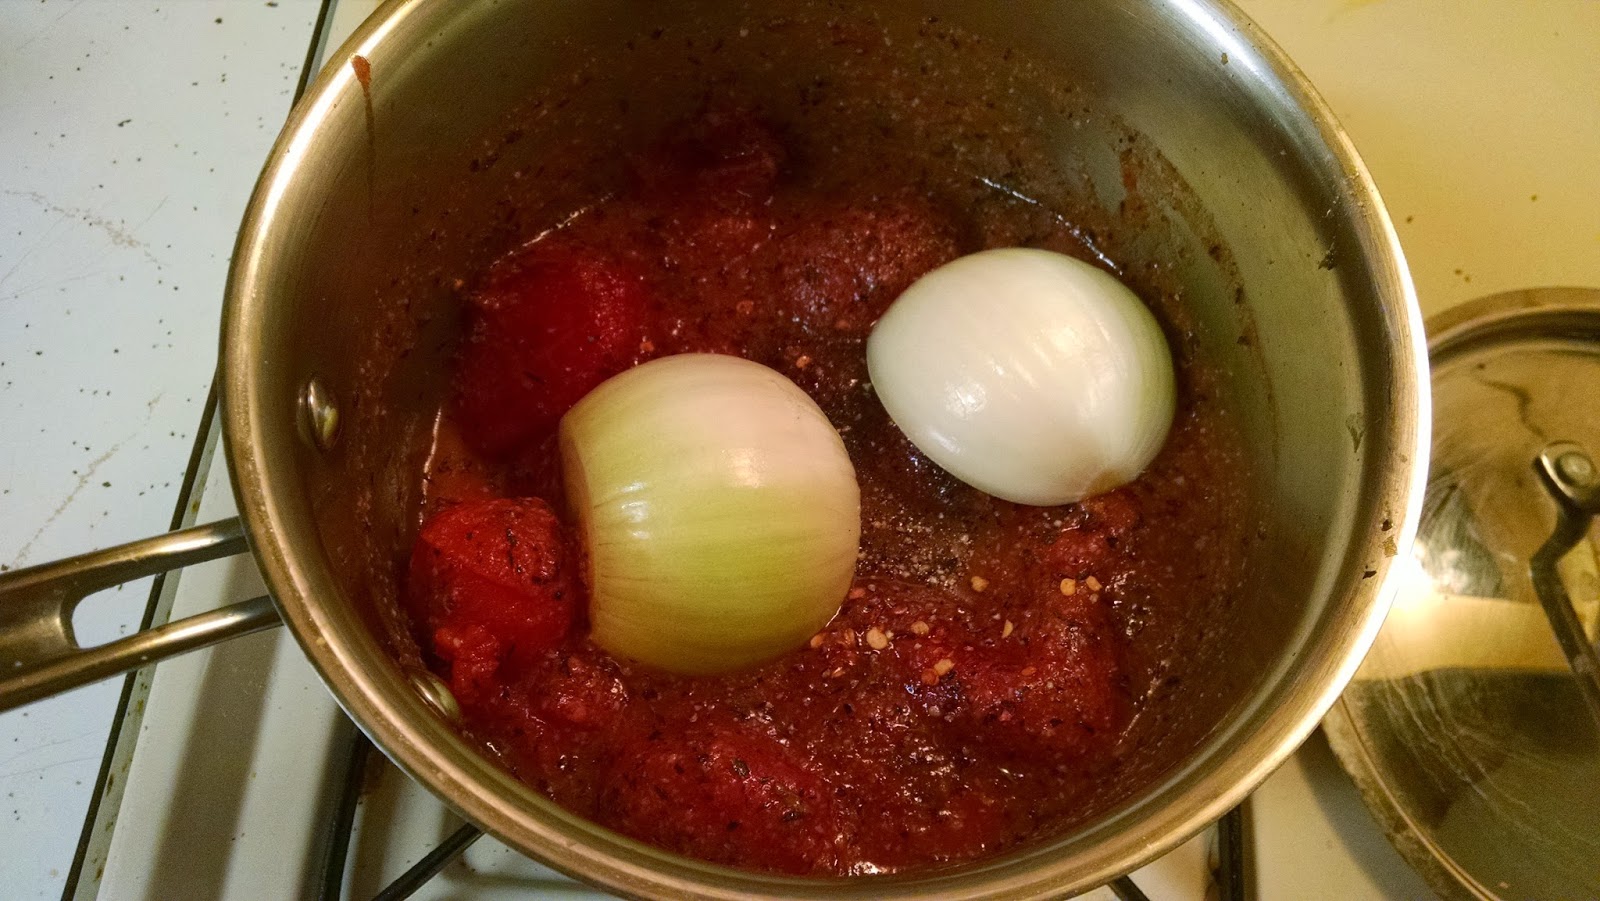
After a minute or so on the stove top, add in the tomatoes and the rest of the ingredients. Stir together. The onion is there to impart some flavor and sweetness. Now put in the oven for 2 hours or so.
I did look after this periodically, stirring occasionally, finishing with the lid on for the last 30 min or so. This is what the finished product looks like.
At this point, remove the onion and blend this all together until smooth. Voila! You have pizza sauce.
Notes:
This time I used canned whole tomatoes after being inspired by online recipes, but had previously used tomato puree. I must say that the tomato puree versions turned out better...I needed to tweak this one with a bit of salt and sugar...something is still a bit lacking here...sauce is still a WIP, but should be serviceable for pizza Friday!
1 big can of peeled tomatoes
1 Tbsp of crushed garlic
1 Tbsp oregano
1 Tbsp basil
1 Tbsp thyme
0.5 Tbsp red pepper flakes
1 Tbsp sugar
salt, pepper to taste
1 onion halved
Get the garlic going in the bottom of a sauce pan with some olive oil. Preheat the oven to 325 deg F.
After a minute or so on the stove top, add in the tomatoes and the rest of the ingredients. Stir together. The onion is there to impart some flavor and sweetness. Now put in the oven for 2 hours or so.
I did look after this periodically, stirring occasionally, finishing with the lid on for the last 30 min or so. This is what the finished product looks like.
At this point, remove the onion and blend this all together until smooth. Voila! You have pizza sauce.
Notes:
This time I used canned whole tomatoes after being inspired by online recipes, but had previously used tomato puree. I must say that the tomato puree versions turned out better...I needed to tweak this one with a bit of salt and sugar...something is still a bit lacking here...sauce is still a WIP, but should be serviceable for pizza Friday!
Tuesday, October 7, 2014
Sawsheezle does pizza: Part 1 - dough
It's pizza time! Hooray! We want pizza. What kind do you have? Tombstone? Barf! Red Baron? Vomit? No! We are doing pizza Dieselfur style: homemade! This is the first part in a multi-part series. Stay tuned for the rest, but here's tonight's episode: dough.
First let's meet out ingredients:
3.5 cups bread flour
1.5 cups warm water ~110 deg F
1 Tbsp salt
1 tsp sugar
2 tsp olive oil
1 packet yeast
A simple set of ingredient for a simple dough. First get your warm water and stir in your sugar and yeast. Let sit for five minutes and when you see the yeast bubbling up you know it's good to go. In the meantime prepare your flour in a mixing of your choosing.
Nicely done! You are well on your way to making dough! And look, the yeast concoction is ready too!
Add yeast mixture, olive oil, and salt to flour in the mixing bowl.
Stir with a sturdy fork until you get a nightmare of immature dough like so.
Transfer dough to floured cutting board and begin to knead. Knead by folding the dough in and over itself many times. This is where we develop the gluten guys. And if you're wondering why we used bread flour to begin with, it's because of its higher protein (gluten) content. The extra kneading aligns the gluten and will make the dough stretchy...ideal for pizza dough! After kneading for a bit the dough will become sticky and at this point add a sprinkle of flour to the board and keep kneading. Repeat this process 2-3 more times until you have kneaded the dough for about 4-5 minutes or so. The more the better. And here's our finished product once formed into a ball.
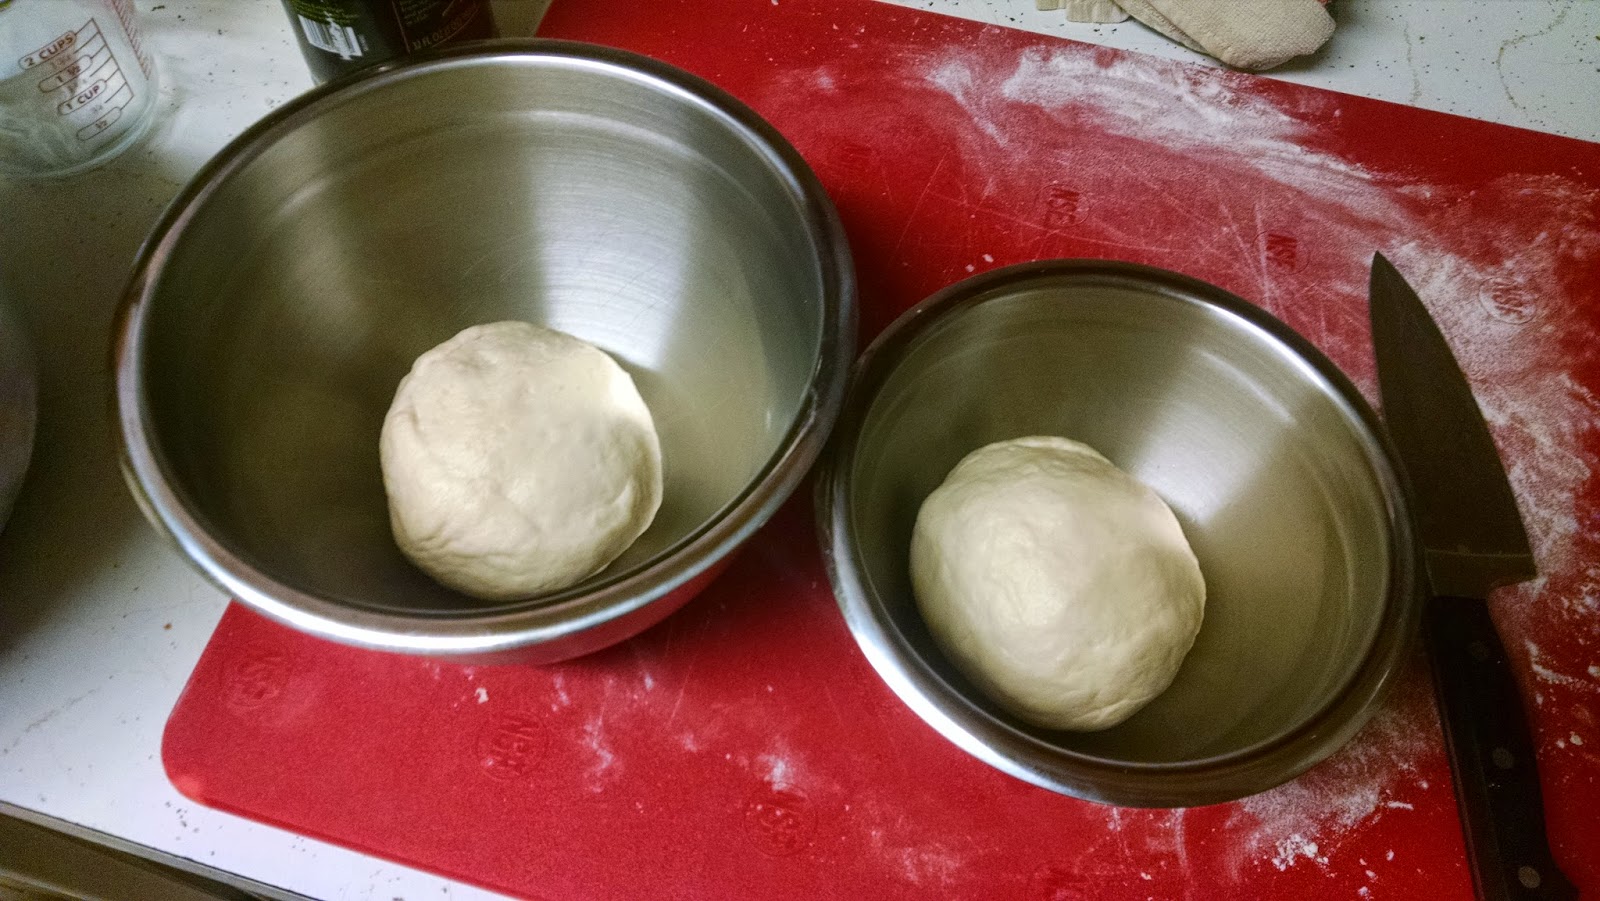
Beautiful right? Now immediately cut it into two and drizzle a touch of olive oil on these new balls.
You'll want to spread the oil around over the surface of the balls and then put them into two lightly greased bowls for storage.
Now put these in the fridge and let them sit for three days. Wait...what? Aren't you supposed to get a towel and let the dough rise on the countertop you dumb liberal? Well, you can, but we are going to let our dough rise more slowly in the fridge. And we're going to let the dough age and allow the yeast to produce a more mature flavor. Still don't believe me? Check this site out:
http://slice.seriouseats.com/archives/2010/09/the-pizza-lab-how-long-should-i-let-my-dough-cold-ferment.html
quote from pizzalab.com
Anyways we'll back back next time with another episode: pizza sauce!
First let's meet out ingredients:
1.5 cups warm water ~110 deg F
1 Tbsp salt
1 tsp sugar
2 tsp olive oil
1 packet yeast
A simple set of ingredient for a simple dough. First get your warm water and stir in your sugar and yeast. Let sit for five minutes and when you see the yeast bubbling up you know it's good to go. In the meantime prepare your flour in a mixing of your choosing.
Nicely done! You are well on your way to making dough! And look, the yeast concoction is ready too!
Add yeast mixture, olive oil, and salt to flour in the mixing bowl.
Stir with a sturdy fork until you get a nightmare of immature dough like so.
Transfer dough to floured cutting board and begin to knead. Knead by folding the dough in and over itself many times. This is where we develop the gluten guys. And if you're wondering why we used bread flour to begin with, it's because of its higher protein (gluten) content. The extra kneading aligns the gluten and will make the dough stretchy...ideal for pizza dough! After kneading for a bit the dough will become sticky and at this point add a sprinkle of flour to the board and keep kneading. Repeat this process 2-3 more times until you have kneaded the dough for about 4-5 minutes or so. The more the better. And here's our finished product once formed into a ball.
Beautiful right? Now immediately cut it into two and drizzle a touch of olive oil on these new balls.
You'll want to spread the oil around over the surface of the balls and then put them into two lightly greased bowls for storage.
Now put these in the fridge and let them sit for three days. Wait...what? Aren't you supposed to get a towel and let the dough rise on the countertop you dumb liberal? Well, you can, but we are going to let our dough rise more slowly in the fridge. And we're going to let the dough age and allow the yeast to produce a more mature flavor. Still don't believe me? Check this site out:
http://slice.seriouseats.com/archives/2010/09/the-pizza-lab-how-long-should-i-let-my-dough-cold-ferment.html
quote from pizzalab.com
The Short Answer: Three to Five Days
If you've managed to get through all that dense, unleavened text, you've already got the answer to the titular question. For the rest of you who just skim (I know you're out there),
three to five days of cold fermentation is your best bet
three to five days of cold fermentation is your best bet for dramatically improving your dough's flavor, texture, and workability.
In my fridge, which keeps at around 38°F, loss of quality started to occur around day 6. It continued to get worse and worse. By day 10, the pizza crusts showed barely any rise at all, and had a very distinct and off-putting sour flavor. Depending on your fridge, your timing might be a little different than mine, so it pays to experiment a bit. It's easy—after you make the first batch of dough, all you have to do is shape and bake a pizza each day—and makes for an interesting week of pizza-eating.
Given all this, does it mean that I'm never going to make a one-day pizza dough again? Absolutely not. But it does mean that if I can get myself to think ahead at least a bit (unlikely), I know a surefire way to improve my crusts in the future.
Anyways we'll back back next time with another episode: pizza sauce!
Friday, September 26, 2014
I'm Dealing With Some Very Unstable Herbs!
Dried basil leaves from the basil plant as it was getting unruly and its getting colder.
I'm dealing with some very unstable herbs!
Monday, September 15, 2014
SURGE!!!
I guess Surge is back. I don't know about you guys but I drank a ton of this stuff as a kid. These guys have been part of The Surge Movement for quite a few years now and I guess they finally got Coca-Cola to bring back Surge. Good for them? And you can only buy it through Amazon.
Monday, August 25, 2014
A nostalgia explosion
Someone combined two of my favorite things from childhood. The TMNT action figure van and an NES. I present to you, the TMNT NES!
Wednesday, August 20, 2014
What should Sawsheezle's next recipe post be?
Any suggestions fur friends? No doughs or anything crazy though. Can't really do anything smoked. I have a few things I have prepared before to varying levels of success such as:
1. Caribbean jerked pork with ginger rice and black beans
2. Pulled pork burritos with cilantro and onion chutney
3. Deviled eggs
Your thoughts/wishes are welcomed. I am trying to branch out now that I have tried a continental recipe with success. Just leaves your comments in the comments section.
1. Caribbean jerked pork with ginger rice and black beans
2. Pulled pork burritos with cilantro and onion chutney
3. Deviled eggs
Your thoughts/wishes are welcomed. I am trying to branch out now that I have tried a continental recipe with success. Just leaves your comments in the comments section.
Tuesday, August 19, 2014
Red beans and rice
capital_prototype indirectly challenged Sawsheezle to try and make some "non-Mexican" food. He suggested a cajun staple: red beans and rice. These are the results:
The setup:
I found a recipe online link and tried to follow it for some initial attempt. Ingredients are
1lb dry red beans
1 green bell pepper
1 bunch celery
1 onion
some garlic cloves
smoked sausage (I could only find kielbasa for cheap)
3-4 bay leaves
1tbsp thyme
1tbsp sage
2tbsp old bay seasoning
Firstly, I cooked the red beans in my pressure cooker similar to how I prepared the black beans. I cooked them under pressure for about 30 mins, but they weren't quite done, but that was ok because I would simmer everything together for awhile anyway. I chopped up the "top" and "bottom" of the celery (leaving almost the entire "heart"), the onion, and added the pressed garlic to some oil in a hot skillet. The bay leaves were thrown in as well.
At this point, my kitchen smelled like Chinese food. Must be the frying celery. I thought I would be clever and "brown" the smoked sausage at the same time.
Then I tossed the veggie mixture, the sausage, 2 or so cups of water into a big stock pot and turned it on high. The thyme, sage, and old bay were added ad things got to a boil. Then the beans were added. Everything was brought to a boil and then let to simmer while things thickened up and the flavors intertwined.
I kept this in the fridge and heated up a single portion, cooked some rice, and poured cajun mixture on top of rice. Added a bit of parsley for a nice photo and here you go.
The verdict? It's good. It's not Mexican food though. Also, Tabasco, which I consider to be the only hot sauce for eggs, just doesn't work here. Maybe I'll try to get some Louisiana or Crystal brand sauce? This thing was screaming for a nice salsa verde though to complement the spicy bean stew. Perhaps I'll just have to make some green salsa then?
The setup:
I found a recipe online link and tried to follow it for some initial attempt. Ingredients are
1lb dry red beans
1 green bell pepper
1 bunch celery
1 onion
some garlic cloves
smoked sausage (I could only find kielbasa for cheap)
3-4 bay leaves
1tbsp thyme
1tbsp sage
2tbsp old bay seasoning
Firstly, I cooked the red beans in my pressure cooker similar to how I prepared the black beans. I cooked them under pressure for about 30 mins, but they weren't quite done, but that was ok because I would simmer everything together for awhile anyway. I chopped up the "top" and "bottom" of the celery (leaving almost the entire "heart"), the onion, and added the pressed garlic to some oil in a hot skillet. The bay leaves were thrown in as well.
At this point, my kitchen smelled like Chinese food. Must be the frying celery. I thought I would be clever and "brown" the smoked sausage at the same time.
Then I tossed the veggie mixture, the sausage, 2 or so cups of water into a big stock pot and turned it on high. The thyme, sage, and old bay were added ad things got to a boil. Then the beans were added. Everything was brought to a boil and then let to simmer while things thickened up and the flavors intertwined.
I kept this in the fridge and heated up a single portion, cooked some rice, and poured cajun mixture on top of rice. Added a bit of parsley for a nice photo and here you go.
The verdict? It's good. It's not Mexican food though. Also, Tabasco, which I consider to be the only hot sauce for eggs, just doesn't work here. Maybe I'll try to get some Louisiana or Crystal brand sauce? This thing was screaming for a nice salsa verde though to complement the spicy bean stew. Perhaps I'll just have to make some green salsa then?
Thursday, August 14, 2014
Frijoles referitos y'all
Sawsheezle promised refried beans and Sawsheezle delivers. The "refried" is easy, but needs to be shared for all the gringos out there. First one has to cook beans though before one can "refry" them. This is an attempt at Cuban-style black beans...don't freak out....the process work for pinto beans too! First gather ingredients and take a picture:
Here we have:
1lb dried black beans
1 onion
several garlic cloves w/ fancy garlic press
rice wine vinegar
bay leaves, coriander, cumin to season
Cuban-style calls for bell peppers as well, but I didn't have those. I diced up the onions and added everything to my pressure cooker. Didn't measure the vinegar, but I put in a few tbsp I suppose used generous helpings of coriander and cumin 1-1.5 tbsp each. After adding water, everything went into the pressure cooker and cooked for 40 mins under high pressure letting the cooker cool off on its own. After they were done I tasted them and they were a bit bland. Note that salt may be a key ingredient when preparing beans from scratch. This recipe could have used more of everything and I will seek to add chile powder and other Caribbean spices to it in the future for perfecting things. Also, the amount of water you use is somewhat debatable: you don't want to use too little or your pressure cooker will dry out and you don't want to use too much or things will over flow. Once you find the right amount make sure to keep the water around for the refrying part...we need the startch! Let refry things now! Get oil/lard/whatever and heat it up in a skillet and then take a boring photo. Don't use olive oil though...wrong flavor profile. Lard is traditional, but I'm just using a vegetable oil, sunflower specifically.
Can't see the super hot oil? It's in the skillet. I put in enough to cover the bottom of the skillet. You will have to experiment with how much oil you use. Also, I read that adding more seasoning to the hot oil is a great way to really extract some more flavor from any additional seasoning you may add at this time. Now it is time to add you beans and begin to fry. Add them in a thin layer and try not to add too many...you can add more later.
Just keep mashing and using the masher to stir a bit. The heat is on high and things are cooking.
Once things are well-mashed, let the beans cook until then are bubbling a bit leaving behind small craters. Stir occasionally while cooking to help keep things from burning on the bottom. And don't use a teflon skillet with a stainless steel masher gringos! The consistency should be a bit runny once you turn off the heat, but it will quickly thicken up as it begins to cool. Here is a sample meal idea:
Refried black beans, scrambled eggs, cheese, tomatillo salsa, served with limes and cholula of course.
Keep on cooking gringos!
Here we have:
1lb dried black beans
1 onion
several garlic cloves w/ fancy garlic press
rice wine vinegar
bay leaves, coriander, cumin to season
Cuban-style calls for bell peppers as well, but I didn't have those. I diced up the onions and added everything to my pressure cooker. Didn't measure the vinegar, but I put in a few tbsp I suppose used generous helpings of coriander and cumin 1-1.5 tbsp each. After adding water, everything went into the pressure cooker and cooked for 40 mins under high pressure letting the cooker cool off on its own. After they were done I tasted them and they were a bit bland. Note that salt may be a key ingredient when preparing beans from scratch. This recipe could have used more of everything and I will seek to add chile powder and other Caribbean spices to it in the future for perfecting things. Also, the amount of water you use is somewhat debatable: you don't want to use too little or your pressure cooker will dry out and you don't want to use too much or things will over flow. Once you find the right amount make sure to keep the water around for the refrying part...we need the startch! Let refry things now! Get oil/lard/whatever and heat it up in a skillet and then take a boring photo. Don't use olive oil though...wrong flavor profile. Lard is traditional, but I'm just using a vegetable oil, sunflower specifically.
Can't see the super hot oil? It's in the skillet. I put in enough to cover the bottom of the skillet. You will have to experiment with how much oil you use. Also, I read that adding more seasoning to the hot oil is a great way to really extract some more flavor from any additional seasoning you may add at this time. Now it is time to add you beans and begin to fry. Add them in a thin layer and try not to add too many...you can add more later.
We're trying to make a sort-of-roux http://en.wikipedia.org/wiki/Roux which is a thickening agent made from starch and boiling grease. Thanks what we're trying to do. Once things are frying you can begin mashing. I didn't cook my beans with enough water so I added a bit (1-2oz) to help thin things out a bit.
Just keep mashing and using the masher to stir a bit. The heat is on high and things are cooking.
Once things are well-mashed, let the beans cook until then are bubbling a bit leaving behind small craters. Stir occasionally while cooking to help keep things from burning on the bottom. And don't use a teflon skillet with a stainless steel masher gringos! The consistency should be a bit runny once you turn off the heat, but it will quickly thicken up as it begins to cool. Here is a sample meal idea:
Refried black beans, scrambled eggs, cheese, tomatillo salsa, served with limes and cholula of course.
Keep on cooking gringos!
Wednesday, August 13, 2014
Stupid Dumb Excel
Copy a cell. Go to paste to another cell. Realize I need to create a new column. Try to create a new column. Excel wants to paste something really bad. Proceeds to try and paste the cell into every cell in the new column we created together for infinity. Excel freezes up and dies.
Subscribe to:
Posts (Atom)