First let's meet out ingredients:
1.5 cups warm water ~110 deg F
1 Tbsp salt
1 tsp sugar
2 tsp olive oil
1 packet yeast
A simple set of ingredient for a simple dough. First get your warm water and stir in your sugar and yeast. Let sit for five minutes and when you see the yeast bubbling up you know it's good to go. In the meantime prepare your flour in a mixing of your choosing.
Nicely done! You are well on your way to making dough! And look, the yeast concoction is ready too!
Add yeast mixture, olive oil, and salt to flour in the mixing bowl.
Stir with a sturdy fork until you get a nightmare of immature dough like so.
Transfer dough to floured cutting board and begin to knead. Knead by folding the dough in and over itself many times. This is where we develop the gluten guys. And if you're wondering why we used bread flour to begin with, it's because of its higher protein (gluten) content. The extra kneading aligns the gluten and will make the dough stretchy...ideal for pizza dough! After kneading for a bit the dough will become sticky and at this point add a sprinkle of flour to the board and keep kneading. Repeat this process 2-3 more times until you have kneaded the dough for about 4-5 minutes or so. The more the better. And here's our finished product once formed into a ball.
Beautiful right? Now immediately cut it into two and drizzle a touch of olive oil on these new balls.
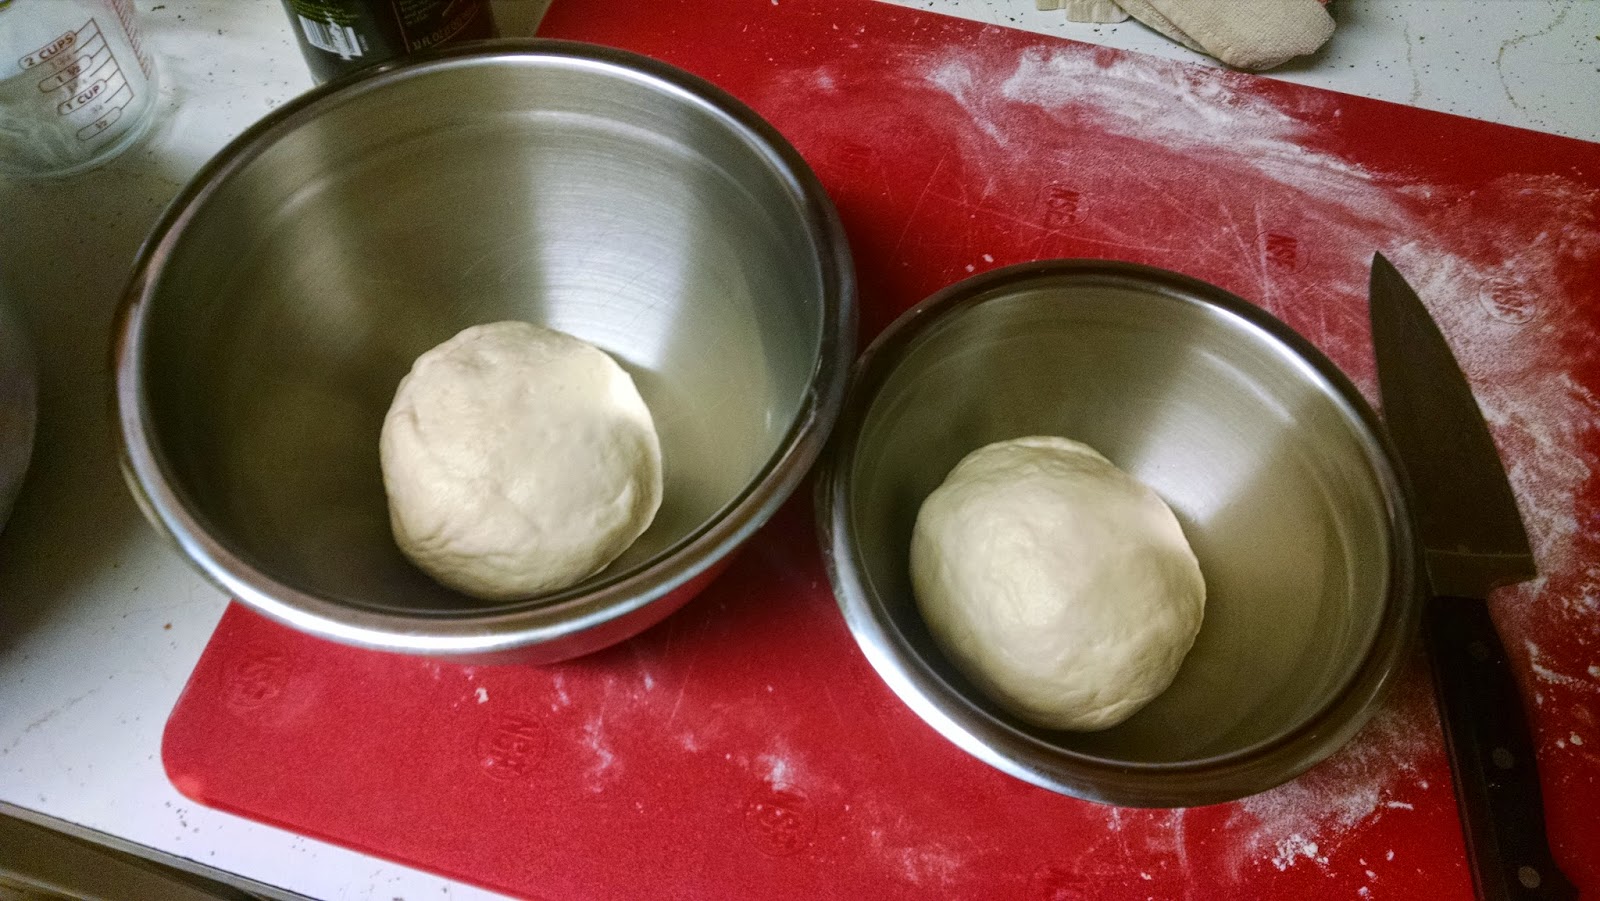
You'll want to spread the oil around over the surface of the balls and then put them into two lightly greased bowls for storage.
Now put these in the fridge and let them sit for three days. Wait...what? Aren't you supposed to get a towel and let the dough rise on the countertop you dumb liberal? Well, you can, but we are going to let our dough rise more slowly in the fridge. And we're going to let the dough age and allow the yeast to produce a more mature flavor. Still don't believe me? Check this site out:
http://slice.seriouseats.com/archives/2010/09/the-pizza-lab-how-long-should-i-let-my-dough-cold-ferment.html
quote from pizzalab.com
The Short Answer: Three to Five Days
If you've managed to get through all that dense, unleavened text, you've already got the answer to the titular question. For the rest of you who just skim (I know you're out there),
three to five days of cold fermentation is your best bet
three to five days of cold fermentation is your best bet for dramatically improving your dough's flavor, texture, and workability.
In my fridge, which keeps at around 38°F, loss of quality started to occur around day 6. It continued to get worse and worse. By day 10, the pizza crusts showed barely any rise at all, and had a very distinct and off-putting sour flavor. Depending on your fridge, your timing might be a little different than mine, so it pays to experiment a bit. It's easy—after you make the first batch of dough, all you have to do is shape and bake a pizza each day—and makes for an interesting week of pizza-eating.
Given all this, does it mean that I'm never going to make a one-day pizza dough again? Absolutely not. But it does mean that if I can get myself to think ahead at least a bit (unlikely), I know a surefire way to improve my crusts in the future.
Anyways we'll back back next time with another episode: pizza sauce!


Interesting, I wouldn't have though to refrigerate dough for multiple days. What does this do for your pizza dough?
ReplyDelete